Our 2nd Dinosaur Quilt Pattern: Ankylosaurus Using “Slow” Piecing Techniques (English Paper Piecing)
This lovely lady is the 2nd dino in our series. To piece this block using English Paper Piecing techniques (EPP), you’ll print out the 4 quadrants onto C&T Publishing’s English Paper Piecing Specialty Papers, a product created by Becky Goldsmith. CLICK HERE or the button below to purchase the individual pattern. You can also purchase all 6 as a set when you CLICK HERE. I’m enjoying this piecing technique, but need lots more practice. Thank goodness we have 6 blocks to help me improve my skill.
The pleasure of EPP is its portability. I traveled to Texas last week to teach at 3 guilds and took a little satchel of EPP tools and patterns with me. It was fun to have something to work on during the down times. I’ve created new videos to walk you through the major highlights of putting lovely Ankylosaurus together.
I’ve created several short instructional videos demonstrating the following:
- Supplies
- Understanding the Pattern
- Cutting Your Fabric Pieces
- Assembling Your Fabric Pieces
I hope you’re enjoying Annette Frye’s adorable patterns as much as I am! Enjoy the adventure!
Ankylosaurus “Slow” Piecing Video #1: Supplies
Annette provides a full list of supplies to make this block on page 2 of the pattern. This video provides an overview of my favorite tools, where to source them, and how to use them.
Note: While I created a brand new “Supplies” video for Ankylosaurus this week, I’m having trouble editing it. This video is the same one I showed you for T-Rex. The supplies are exactly the same for both; this just demos them with the T-Rex pattern. The remaining 3 videos below are all new and showcase Ankylosaurus!
Ankylosaurus “Slow” Piecing Video #2: Understanding the Pattern
The key to cutting apart your dinosaur quilt pattern is using a rotary cutter and a ruler for consistently straight and even edges on your EPP pieces.
Ankylosaurus “Slow” Piecing Video #3: Cutting Pieces From Your Fabric
There are 2 major differences between our “fast” and “slow” techniques at this stage:
1. You’ll place the template on the BACK of your fabric.
2. Your seam allowance doesn’t have to be an exact quarter-inch. I suggest cutting it wider than a quarter-inch, so that you have plenty of fabric to wrap around to the back of the template. You can use your rotary cutter and ruler, but feel free to use scissors, too.
Ankylosaurus “Slow” Piecing Video #4: Understanding the Piece Plan & Stitching
Let’s run through the order in which you’ll assemble your EPP pieces and then get started putting them together!
Progress Pictures Plus
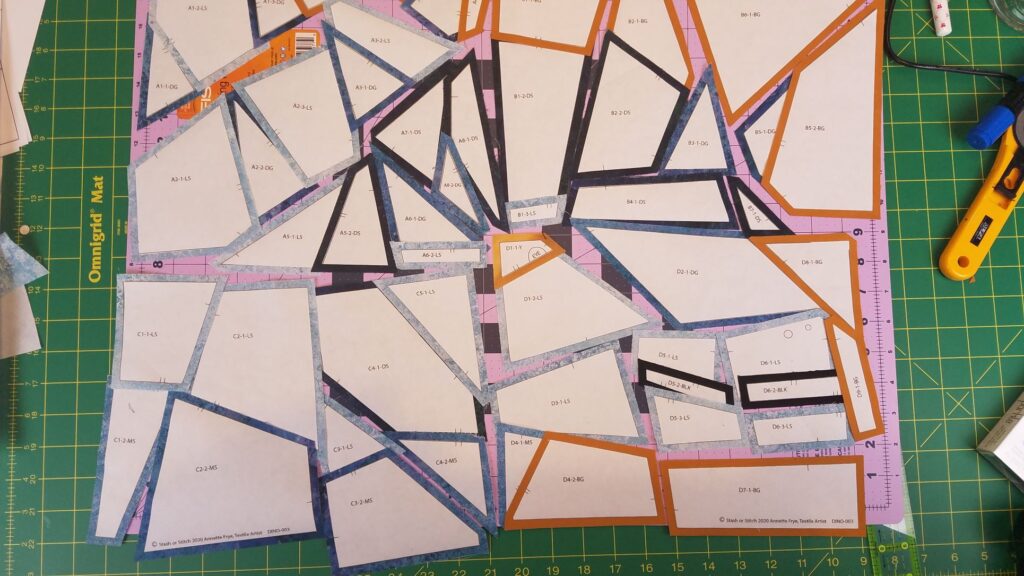
I like to set out all the pieces in a “Piece Plan’ arrangement prior to stitching just to make sure that all pieces are present and accounted for.

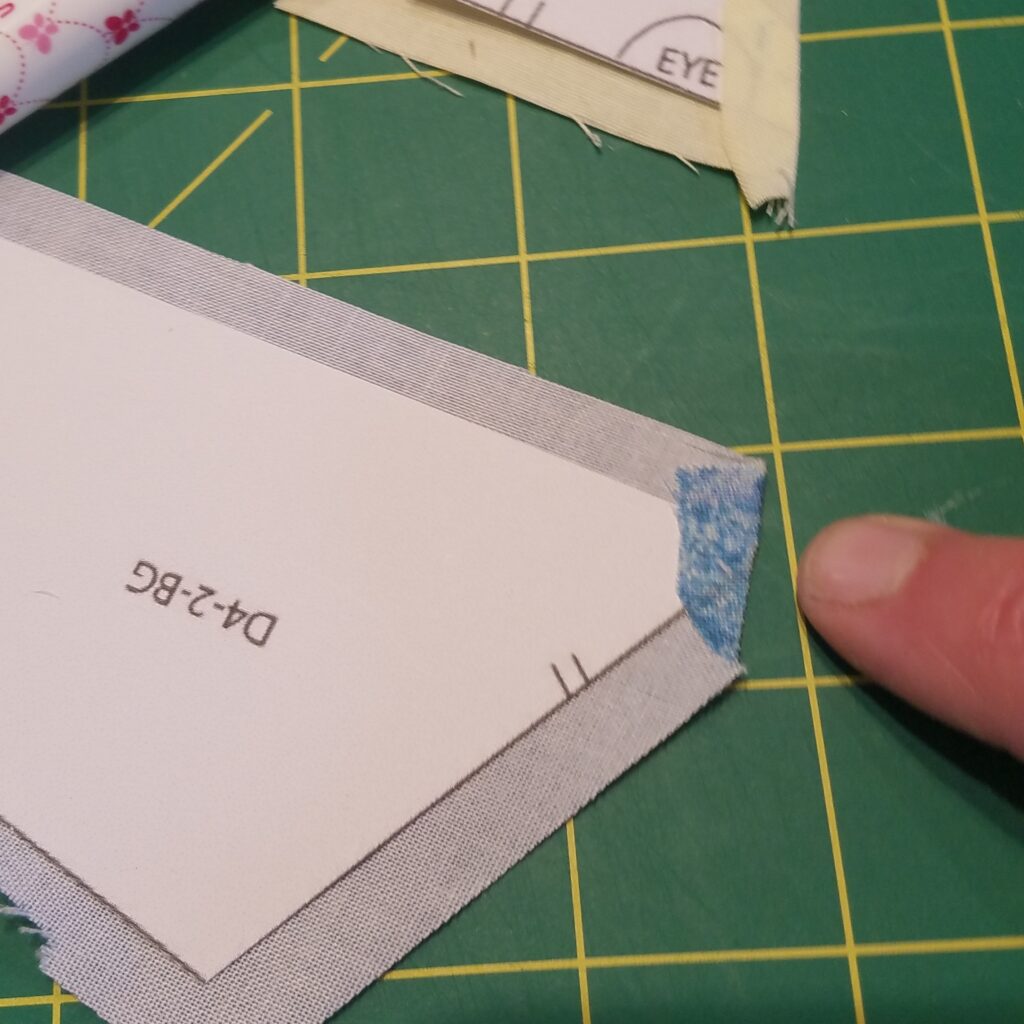
I’m learning so much about this technique as applied to these patterns. First “learning” is to be sure to turn the shortest edges first. Otherwise they might get lost in all the fabric folds.
One other tip, when you’re sewing pieces together, be sure not to catch an edge of one of the dog-ears of fabric. It’s just easier to iron them after it’s all put together if those dog-ears aren’t caught in the stitch line.


Stitching away on an unusually cool Kentucky morning in July. Very rare, so I’m taking full advantage of the lovely weather.


…and Anky is complete! I used some Heat & Bond-backed black fabric to attach her little eye and nostrils.
I think I made a mistake on the frill around her face. Instead of using the DS fabric, I used a DG fabric. Oh well, I love her still!


