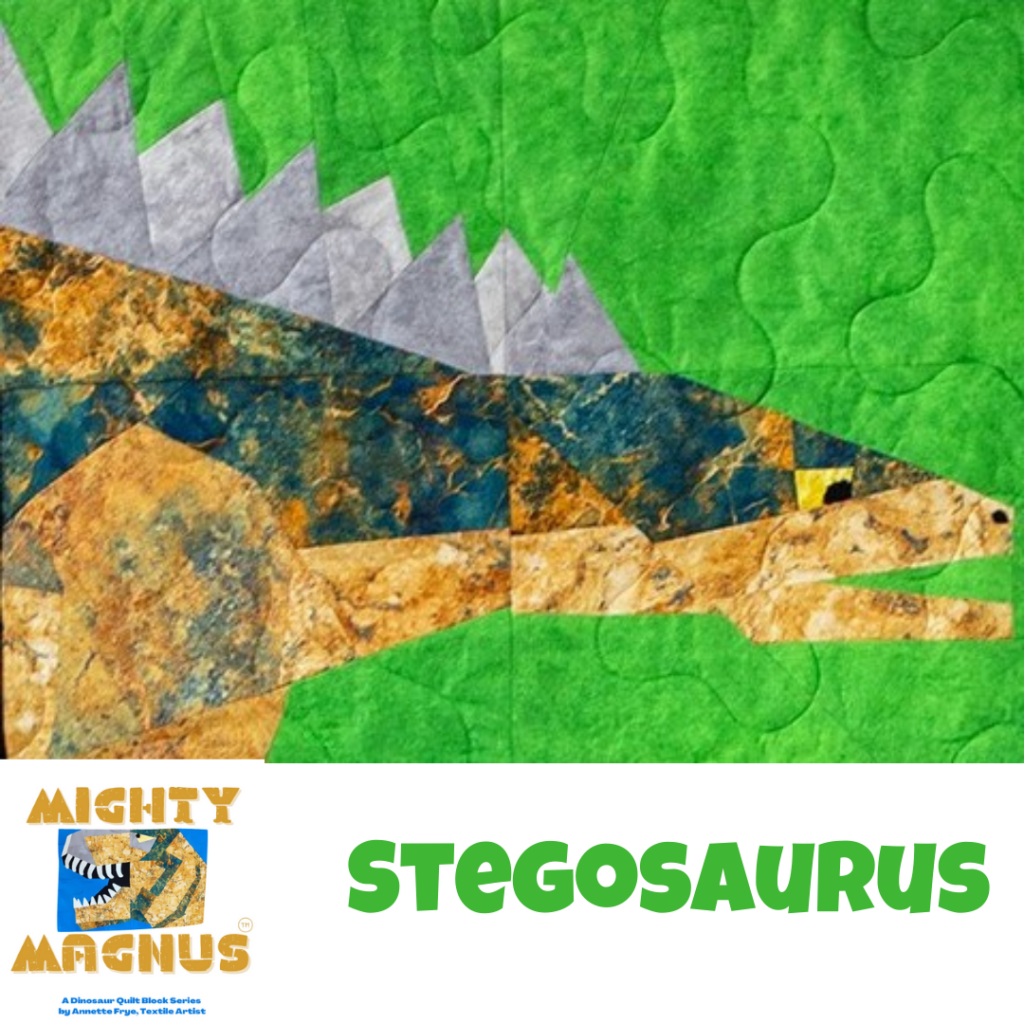
Our 4th Dinosaur Quilt Pattern: Stegosaurus
Anybody want to name this little critter? He/she just looks so joyful!
As with the previous dinos, our first go at the pattern is using the “fast” technique — traditional piecing using freezer paper. You’ll print out the 4 quadrants onto freezer paper.
Click the button below to purchase the individual pattern. You can also purchase all 6 as a set when you CLICK HERE. This week I introduce you to the “fast piecing” technique: freezer paper piecing. This is the technique I’ve used for over 25 years to create my giant gem quilts.
For this week’s Sew-Along blog post, I thought I’d share my secret about how I can create a fully pieced dino block in under 3 minutes. (The secret? Video editing…..) Enjoy!
Then I’ll share with you how I made one of the dumbest decisions EVER last Thursday night and what I did to resolve the near-catastrophe. I might break out in hives as I recount the story. It was one of those “Oh S#%@” moments. You know, when you get that shot of adrenaline into your blood stream (I think that’s where the phrase “My blood ran cold” comes from), everything narrows down to a very small focal point, and you get a ringing in your ears. Dramatic, I know, but that’s exactly what happened! More below. 🙂
If you’re just joining us and want to learn more about the techniques used in making the “fast” pieced Stegosaurus, scroll down to previous blog entries for the instructional videos I’ve created. Be sure, though, to watch the videos for the weeks we “FAST” piece the block. This is traditional piecing using freezer paper as your templates. It’s not “foundation paper piecing” so we don’t sew to paper, we don’t use the flip-and-sew method, and we don’t have to claw paper out of the back of our quilt blocks! If you can put 2 pieces of fabric together with a quarter-inch seam allowance, YOU CAN DO THIS!
Video: How to Make a Dino Block in Under 3 Minutes!
This block was a fun one to put together and it went together FAST! Here’s how I did it. (LOL!)
A Quilt Horror Story
Ready for a horror story?
I spent all last week working on a special project for @jennifersampou and her upcoming line of gorgeous fabrics.
The night it was done (the night before I was to ship it to California) I hung up the quilt for an assessment.
Didn’t like the fluted edges…it needed to be blocked.
So I dumped it in the bathtub, squeezed out the water, pinned it to a tarp on the floor to dry hopefully with straight & true edges, and went to bed.
Well. What color backing fabric do you think I used? Yep. Blood red. Unwashed.
The next morning I woke up to a damp, pink-hued quilt with orangey highlights all around the dense quilting.
After dropping to my knees (and dropping about 50 f-bombs in as many seconds) I decided to not panic and get my butt in gear instead.
The solution:
1. Tub of deep, hot water (boil more and add to the tub if needed)
2. Rubber gloves
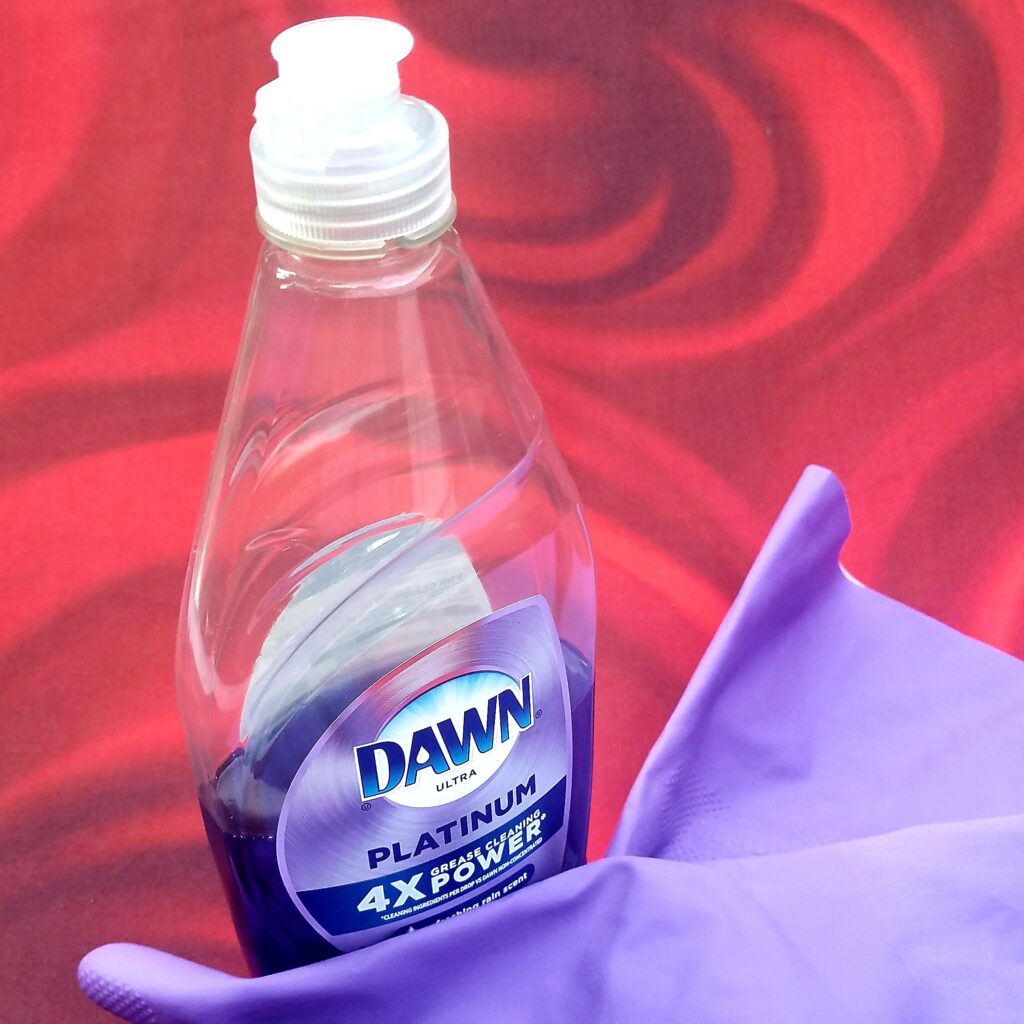
3. Blue Dawn dish liquid (at least half a cup)
4. Swish the quilt around.
5. Try not to cry when all the red dye bleeds into the water.
6. Swish some more.
7. Drain & refill.
8. Let the quilt rest in the tub for an hour or more.
9. Pray to the Quilt gods.
10. Squeeze water out of sparkling clean quilt.
11. Happy Dance!
Let’s add this to the list of Decisions Not To Make at 1 AM.


